ZESTLET · OEM / ODM · Private Label
How a Kilt Belt Buckle Is Made: From Artwork and Fitting to Finish, Sample Approval and Inspection
Build Now, Pay Later · New brands welcome
Launch your brand from 20 pieces. Pay the balance after your stock arrives.
ZESTLET makes your tactical, hunting, uniform and Highland products under your own label. Your first sample and branding setup are free, and orders from $5,000 can pay 60% after delivery.
Budget under $5,000
Startup Launch
- Start from 20 pieces per product
- Your first sample is free
- Labels, screens and digitising are free
- Bulk starts only after you approve the sample
Orders from $5,000
Build Now, Pay Later
- Pay 40% to start production
- Pay the other 60% monthly after delivery
- No interest and no application fee
- Your limit grows with every on-time payment
Your full journey with ZESTLET, step by step
From your first idea to stock in your warehouse. Every step is visible in your free brand dashboard.
- 1Create your free brand accountSign up in about one minute. We email you a 6-digit code to confirm your account.
- 2Check your credit in 30 secondsAnswer 3 short questions in your dashboard and see your pre-qualified credit limit straight away.
- 3Start your projectUpload your design or tech pack, choose the product and quantity. You can start from 20 pieces per product.
- 4Get your quotation within 24 hoursPrice per piece, lead time and payment terms in writing, from real people in Sialkot.
- 5Free sample with your brandingWe make your sample with your logo in 7–10 working days. You only pay the sample shipping.
- 6Approve and pay 40%Bulk production starts only after you approve the sample and pay the 40% deposit.
- 7Production and quality checksCutting, stitching, inspection and packing, with progress updates in your dashboard.
- 8Delivery, then pay 60% monthlyDoor-to-door shipping. Credit orders pay the balance after delivery over 90 to 365 days, with no interest.
What you need to apply
- Your brand name and contact details
- Your product idea, design or tech pack
- An order value from $5,000 for Build Now, Pay Later
- For higher limits: sales history or business registration
Your credit limit grows with you
First credit order
After 2 orders paid on time
After 4 cycles and a review
- Deposit
- 40%
- Balance after delivery
- 60%, monthly
- Repayment
- 90 to 365 days
- Interest and fees
- None
Can I start a clothing brand with a small budget?
Yes. You can start from 20 pieces per product, and your first sample and branding setup are free, so your budget goes into product.
Who can use Build Now, Pay Later?
Brands with orders from $5,000, including new brands with no sales history, after a short review. You pay 40% upfront and 60% in monthly instalments after delivery.
Is the sample free?
Yes, the first sample is made free with your branding. Sample shipping is paid by the buyer.
Credit is subject to approval. Amounts shown in your local currency are approximate.
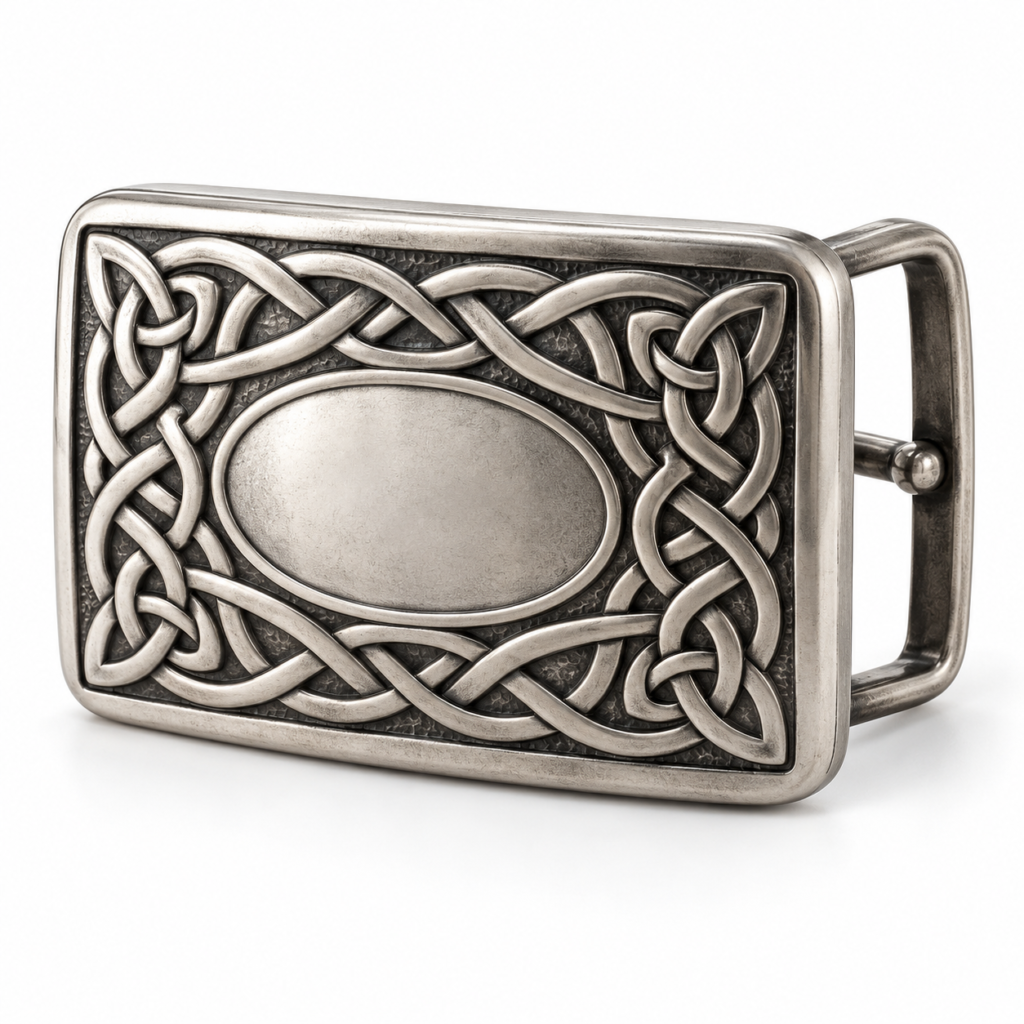
A kilt belt buckle looks like a single piece of metal, but a good one is the result of a series of decisions made in the right order: artwork, face, rear fitting, material, finish and packing. When those steps are rushed, the buckle may look right in a photo and still fail on the belt. This article explains how a kilt belt buckle is made at ZESTLET, step by step, and what buyers should check at each stage.
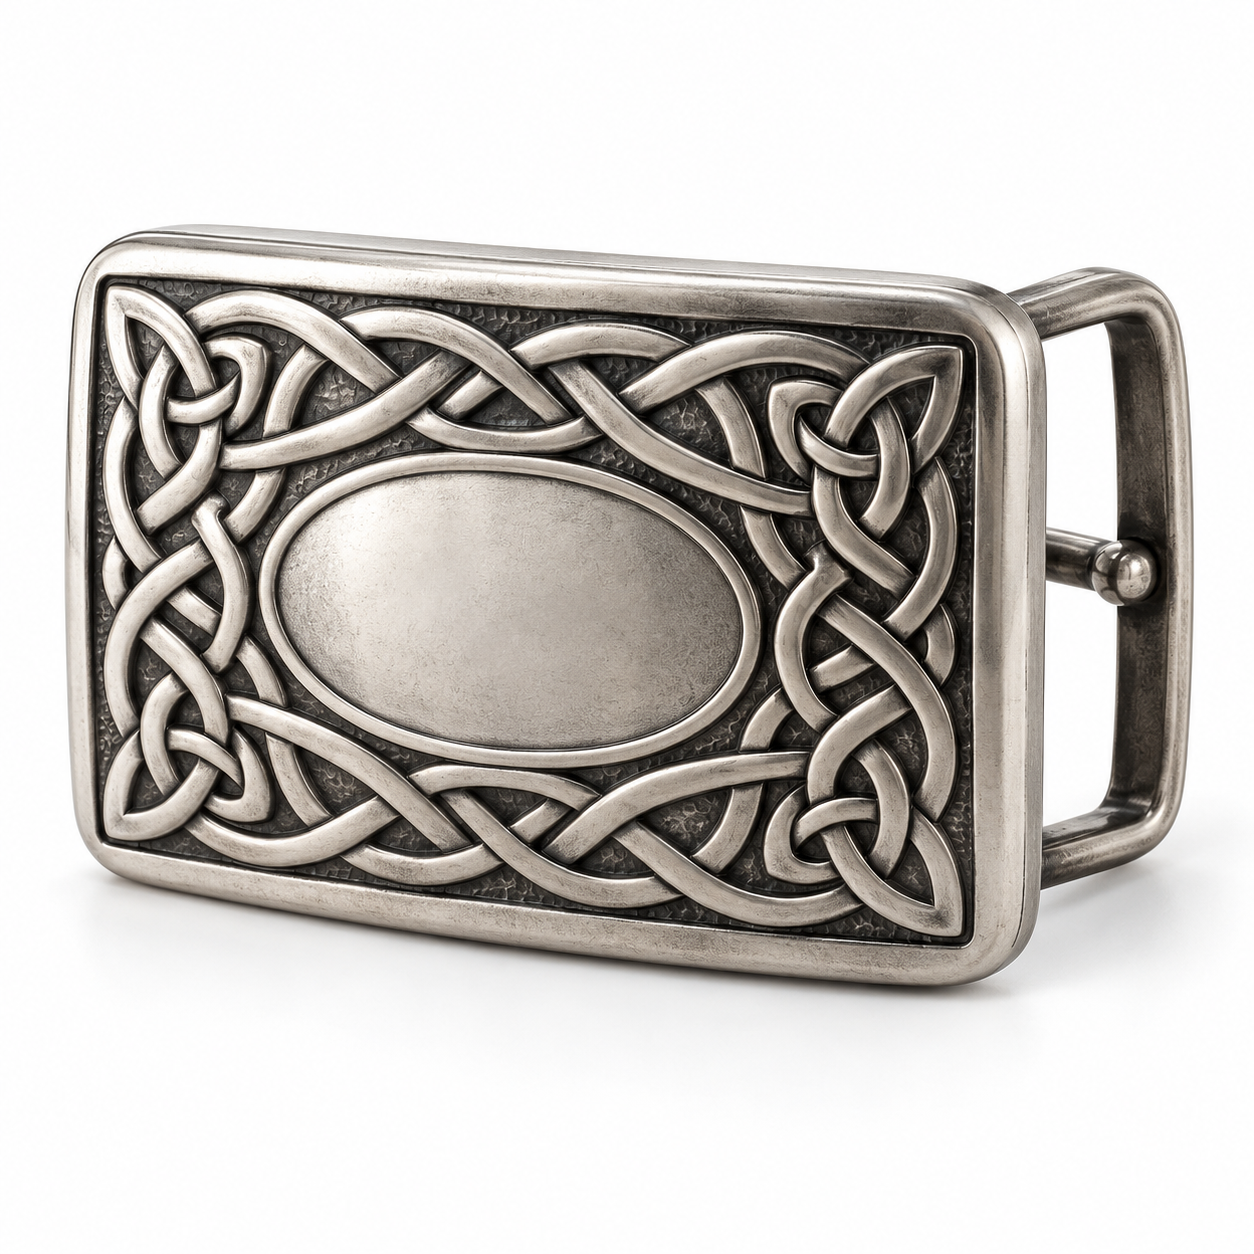
Before you start, our kilt belt buckle buyer’s guide explains each specification point, and kilt belt buckle problems shows what goes wrong when steps are skipped.
Step 1: Define the brief
Production starts with the brief: the outfit or use the buckle is for (dress, day wear, pipe band), destination, quantity by variant and the approved style reference. At this stage the team separates what is fixed from what is still open, especially the face and motif. A clear brief prevents most later changes.
Step 2: Prepare and check the artwork
The motif is prepared from original artwork or artwork the buyer is authorised to use. Fine lines are reviewed for how they will read once raised in relief and finished. Where needed, the design is simplified so that it stays legible at normal viewing distance. The artwork revision is recorded so that sample and bulk use the same file.
Step 3: Resolve material, fitting and finish choices
Next come the declared base metal, the specified surface finish and the approved rear fittings. The rear fitting is matched to the actual belt width and thickness and to the agreed attachment style: loop, hook or another mounting arrangement. The production or sourcing route and component availability are confirmed here, before the design is treated as ready for production.
Step 4: Issue a measurable specification
The design becomes a drawing and a measurement and feature schedule. It covers face width, height and shape, relief depth, rear fitting, compatible belt width, weight reference, edges, finish, back mark and packing. Units, tolerances and the artwork revision are stated so that the sample can be checked against something objective.
Step 5: Make and review the real sample
The front view cannot confirm attachment compatibility, so the sample is reviewed connected to the intended belt. The buyer checks the fitting, the edges by touch, the motif at arm’s length, the finish against the reference and the weight. Changes are sent as a numbered list against the current specification, and a revised sample is made if needed.
Step 6: Approve the reference and the order
Once the sample is right, the final sample, material list, dimensions, inspection criteria, labels and packing are confirmed. That sample becomes the physical reference for production. A project-specific MOQ and schedule are agreed at this point; changes after approval can affect component availability and timing.
Step 7: Finishing and edge work
During production, finishing gives the buckle its agreed colour, sheen and recess treatment, and edges and contact surfaces are rounded. Because antique and two-tone finishes are visual, each batch is compared with the approved finish reference rather than with photos.
Step 8: Inspect, identify and dispatch
Finished buckles are compared with the approved reference. Counts by variant, any included accessories, back marks, labels and protected packing are confirmed, and shipping documents and delivery terms are agreed for the actual destination.
Inspection checklist for kilt belt buckles
| Check | What good looks like |
|---|---|
| Rear fitting | Mounts securely on the approved belt width and thickness |
| Face | Width, height and shape match the specification |
| Relief | Motif legible at arm’s length, no filled-in lines |
| Finish | Colour, sheen and recesses match the physical reference |
| Edges | Rounded, no snagging on fabric or leather |
| Weight | Consistent with the approved sample |
| Back mark | Correct, authorised branding if required |
| Packing | Each buckle protected, separate from leather and metalwork |
If you are also producing the belts, see the belt side of the process in how a kilt belt is made.
Work with a kilt belt buckle manufacturer that samples first
ZESTLET in Sialkot, Pakistan develops kilt belt buckles for Highland outfitters, retailers and band suppliers, with each step tied to a measurable specification and an approved sample.
- Small batches welcome; MOQ confirmed after review
- Sample first, checked on your belt
- Private label back marks when authorised
- Protected packing for retail or bulk
See the kilt belt buckle or request a quote today.
Frequently asked questions
Why is the sample checked on the belt?
The front of a buckle cannot show whether the fitting suits the belt. Checking it connected confirms width, thickness and attachment.
Which material is used?
A declared base metal with a specified surface finish and approved fittings, confirmed for each project before quotation.
Can the design change after sample approval?
Yes, but changes after approval can affect component availability and timing, so they are best made at sample stage.
How is finish consistency controlled?
Each batch is compared with the approved physical finish reference, not with photographs.
What do I need to send to start?
Style reference, artwork, belt width and thickness, attachment style, finish preference, quantity by variant, destination and packing brief.