ZESTLET · OEM / ODM · Private Label
Apparel Inspection and Sorting: What Happens When a Garment Order Fails AQL
Build Now, Pay Later · New brands welcome
Launch your brand from 20 pieces. Pay the balance after your stock arrives.
ZESTLET makes your tactical, hunting, uniform and Highland products under your own label. Your first sample and branding setup are free, and orders from $5,000 can pay 60% after delivery.
Budget under $5,000
Startup Launch
- Start from 20 pieces per product
- Your first sample is free
- Labels, screens and digitising are free
- Bulk starts only after you approve the sample
Orders from $5,000
Build Now, Pay Later
- Pay 40% to start production
- Pay the other 60% monthly after delivery
- No interest and no application fee
- Your limit grows with every on-time payment
Your full journey with ZESTLET, step by step
From your first idea to stock in your warehouse. Every step is visible in your free brand dashboard.
- 1Create your free brand accountSign up in about one minute. We email you a 6-digit code to confirm your account.
- 2Check your credit in 30 secondsAnswer 3 short questions in your dashboard and see your pre-qualified credit limit straight away.
- 3Start your projectUpload your design or tech pack, choose the product and quantity. You can start from 20 pieces per product.
- 4Get your quotation within 24 hoursPrice per piece, lead time and payment terms in writing, from real people in Sialkot.
- 5Free sample with your brandingWe make your sample with your logo in 7–10 working days. You only pay the sample shipping.
- 6Approve and pay 40%Bulk production starts only after you approve the sample and pay the 40% deposit.
- 7Production and quality checksCutting, stitching, inspection and packing, with progress updates in your dashboard.
- 8Delivery, then pay 60% monthlyDoor-to-door shipping. Credit orders pay the balance after delivery over 90 to 365 days, with no interest.
What you need to apply
- Your brand name and contact details
- Your product idea, design or tech pack
- An order value from $5,000 for Build Now, Pay Later
- For higher limits: sales history or business registration
Your credit limit grows with you
First credit order
After 2 orders paid on time
After 4 cycles and a review
- Deposit
- 40%
- Balance after delivery
- 60%, monthly
- Repayment
- 90 to 365 days
- Interest and fees
- None
Can I start a clothing brand with a small budget?
Yes. You can start from 20 pieces per product, and your first sample and branding setup are free, so your budget goes into product.
Who can use Build Now, Pay Later?
Brands with orders from $5,000, including new brands with no sales history, after a short review. You pay 40% upfront and 60% in monthly instalments after delivery.
Is the sample free?
Yes, the first sample is made free with your branding. Sample shipping is paid by the buyer.
Credit is subject to approval. Amounts shown in your local currency are approximate.
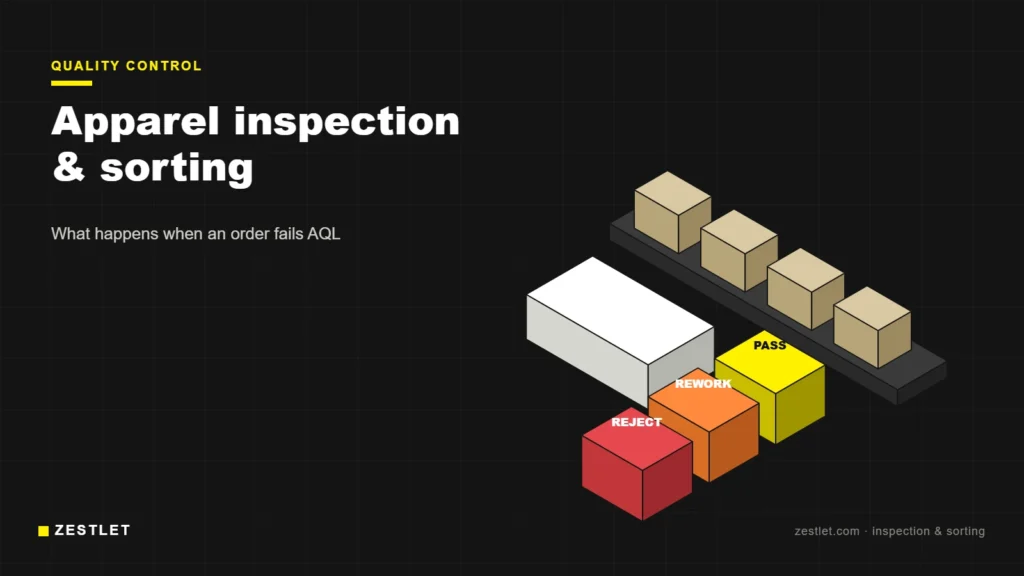
Every garment order is inspected before it ships, but the inspection is only half the job. The other half is what happens when the result is not good enough: sorting the lot, reworking defects, re-inspecting and making sure the same defects do not come back in the next order. This guide explains apparel inspection and sorting in plain terms, how the AQL system decides pass or fail, and how a simple garment defect tracking routine turns inspection results into better production.
Apparel inspection vs sorting: what is the difference?
Inspection checks a sample of the order and decides whether the whole lot meets the agreed quality level. It is a statistical decision: you do not look at every piece.
Sorting (also called 100% inspection) checks every piece and separates them into good, reworkable and rejected. Sorting is normally triggered when an inspection fails, or when a specific defect is found that the buyer will not accept in any quantity.
| Inspection (AQL) | Sorting (100%) | |
|---|---|---|
| What is checked | A random sample | Every garment |
| Purpose | Decide accept or reject for the lot | Remove defective pieces from the lot |
| When | During and after production | After a failed inspection, or for critical defects |
| Time | Hours | Days, depending on quantity |
| Result | Pass / fail report | Good pieces, rework list, reject count |
The inspection stages in garment production
Most quality programmes use several checkpoints, not one final check. We cover each stage in detail in our guide to garment quality inspection and AQL stages; in short:
- Fabric and trims inspection before cutting: shade, GSM, defects in the roll, zips, buttons, labels.
- Pre-production check: approved sample, size set, first cut pieces.
- During production (DUPRO): usually when 20-30% of the order is sewn, so problems are caught while they can still be fixed on the line.
- Final random inspection (FRI): when at least 80% of the order is packed.
How AQL decides pass or fail
AQL means Acceptance Quality Limit. The sampling tables come from ISO 2859-1 (equivalent to ANSI/ASQ Z1.4). For garments, most buyers use General Inspection Level II with three defect classes:
- Critical: a defect that can harm the user or breaks a legal rule, such as a broken needle in the garment or a missing care label where required. Usually AQL 0, so one critical defect fails the lot.
- Major: a defect that makes the product likely to be returned: open seam, wrong size label, visible stain, wrong colour. Commonly AQL 2.5.
- Minor: a defect that does not stop the sale but shows lower workmanship: a short loose thread, slightly uneven stitching. Commonly AQL 4.0.
The lot size decides the sample size, and the AQL decides how many defects are allowed. A few common rows from the single-sampling table at Level II:
| Lot size (pieces) | Sample size | Major, AQL 2.5 (accept / reject) | Minor, AQL 4.0 (accept / reject) |
|---|---|---|---|
| 151-280 | 32 | 2 / 3 | 3 / 4 |
| 281-500 | 50 | 3 / 4 | 5 / 6 |
| 501-1,200 | 80 | 5 / 6 | 7 / 8 |
| 1,201-3,200 | 125 | 7 / 8 | 10 / 11 |
Example: an order of 1,000 hoodies gives a sample of 80. If the inspector finds 5 major defects the lot passes for majors; 6 or more and it fails. Majors and minors are judged separately, and the lot must pass both.
What happens when a garment order fails AQL
A failed inspection is not the end of the order. It starts a fixed process, and agreeing that process before production avoids arguments later.

1. Find the root defect
Look at which defects caused the failure. If 80% of them are open seams from one sewing line, the fix is different from a lot that failed on stains spread across every carton.
2. 100% sorting
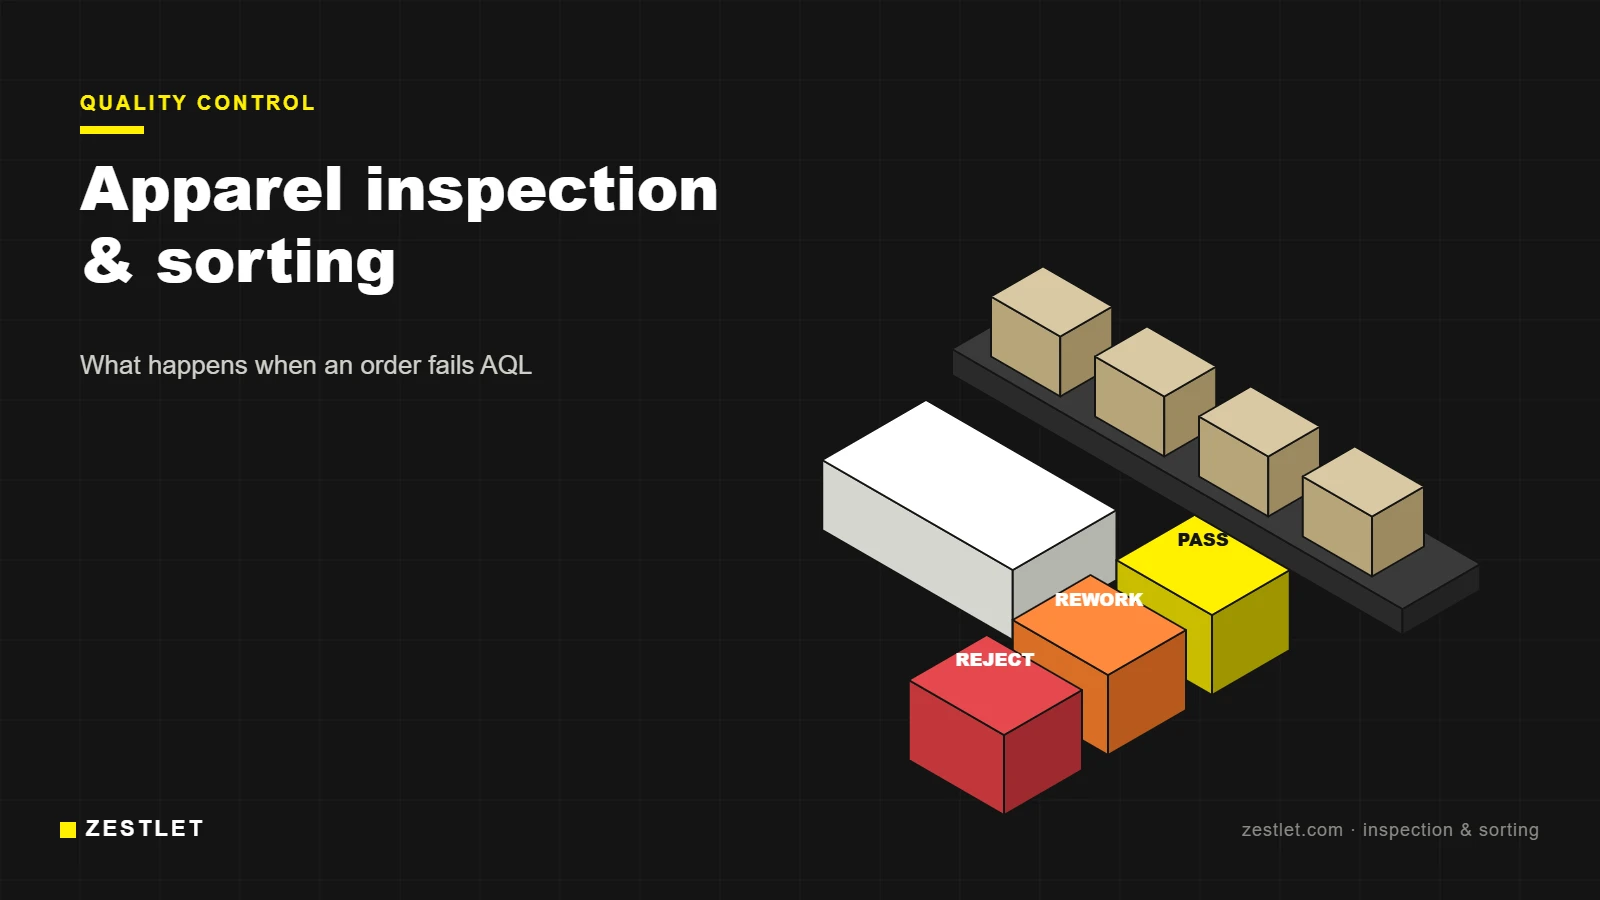
Every carton is opened and every garment is checked for the defects that caused the failure, plus any critical defects. Pieces go into three groups: pass, rework and reject.
3. Rework or replace
Most garment defects can be reworked: loose threads trimmed, open seams re-sewn, stains cleaned, labels corrected, pieces re-pressed. Pieces that cannot be repaired (holes in the fabric, shade bands, wrong cut) are replaced from spare fabric or written off.
4. Re-inspection
The sorted and reworked lot is inspected again with a new random sample. It ships only when it passes. The cost of re-inspection is usually carried by the factory if the first inspection failed.
5. Record and fix
The defects found, their causes and the corrective action are recorded so the next order starts better. This is where defect tracking comes in.
Apparel inspection and sorting services: in-house or third party?
Brands searching for “apparel inspection and sorting” services usually have one of two problems: a shipment has arrived with defects, or they want an independent check before goods leave the factory.
- Factory in-house QC works best when the factory has a separate quality team that reports to management, not to the production line, and when results are shared with you in a written report with photos.
- Third-party inspection gives you an independent pass/fail at origin. It adds cost but is common for larger orders and first orders with a new supplier.
- Destination sorting (in your warehouse or a sorting company near you) is the most expensive option, because labour costs more and the goods have already travelled. The goal of good inspection at origin is to never need it.
Garment defect tracking: turning reports into fewer defects
An inspection report tells you whether one order passed. Defect tracking tells you why defects happen and whether they are getting better. It does not need special software; a shared spreadsheet is enough to start.
What to record for every defect
| Field | Example |
|---|---|
| Order and style | PO 2311 / hoodie HD-01 |
| Inspection stage | DUPRO, final, re-inspection |
| Defect type | Open seam, loose thread, stain, measurement out of tolerance |
| Class | Critical / major / minor |
| Location on garment | Left side seam, hood, cuff |
| Size and colour | L / black |
| Production line or operator | Line 3 |
| Root cause | Wrong stitch density, tension, handling |
| Corrective action and owner | Re-set SPI to 11; line supervisor |
Use a Pareto view
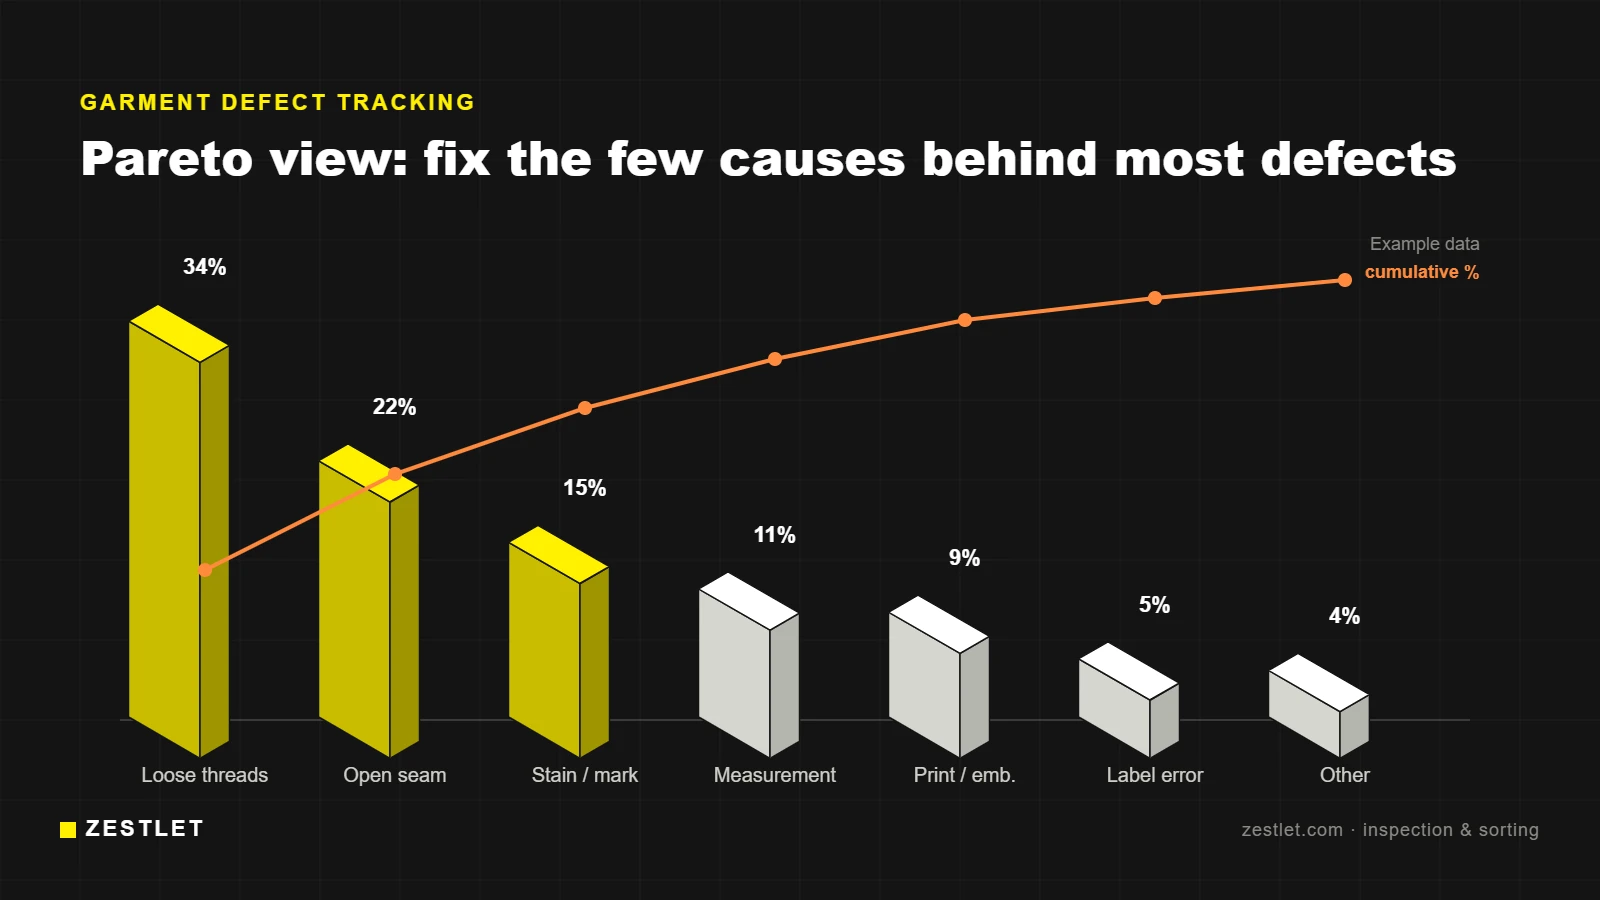
Sort defect types by count. In most factories a small number of defect types cause most of the problems, often loose threads, open seams and stains. Fixing the top two or three causes gives the biggest improvement for the least effort.
Track trends, not single orders
Measure the defect rate per inspection (defects found divided by pieces inspected) and compare it across orders. A falling rate shows that corrective actions work; a rising rate on one style or line tells you where to look.
Defect classification: examples for garments
The same defect can be major on one product and minor on another, so agree a defect list with your factory. These examples are a common starting point:
| Defect | Usual class | Notes |
|---|---|---|
| Broken needle or sharp metal in garment | Critical | Factories should use needle control and metal detection |
| Drawcord in children’s hood or neck | Critical | Banned in many markets for children’s clothing |
| Open seam or broken stitch on a main seam | Major | Garment will fail in use |
| Hole, cut or fabric flaw in a visible area | Major | Minor if hidden and very small |
| Measurement outside tolerance | Major | Use the tolerance in the tech pack |
| Wrong size, care or content label | Major | Can also be a legal issue |
| Visible stain or dirt mark | Major / minor | Depends on size and position |
| Shade difference between panels | Major | Check against approved shade band |
| Print or embroidery misplaced or incomplete | Major | Check placement against the artwork |
| Untrimmed thread end over the agreed length | Minor | The most common defect in most inspections |
| Slightly uneven stitching, not affecting strength | Minor | |
| Poor pressing, creases | Minor | Usually fixed by re-pressing |
Final inspection checklist
A final random inspection for clothing normally covers:
- Quantity check: cartons and pieces against the packing list; at least 80% of the order packed.
- Packing and marking: carton marks, carton dimensions and weight, polybag warnings, assortment per carton.
- Visual workmanship: every sampled garment checked inside and out for the defects above.
- Measurements: key points of measure on several pieces per size against the spec sheet.
- Comparison with the approved sample: colour, fabric, trims, print and labels.
- On-site tests: seam strength pull, zipper and snap function, colour rub, barcode scan, and a carton drop test.
- Report: defects by class, photos, measurements and a clear pass, fail or pending decision.
How to prevent a failed inspection
- Clear tolerances in the tech pack. Measurement tolerances, stitch per inch, label positions and packing instructions should be written, not assumed. Our tech pack guide shows how.
- Approved sample as the reference. The inspector compares bulk with the approved sample, so keep a sealed one at the factory.
- Agree the AQL in the order. Write the inspection level and AQL values on the purchase order so both sides judge by the same standard.
- Do a DUPRO inspection. Most expensive failures could have been fixed on the line if they had been found earlier.
- Thread trimming and final pressing. These two steps remove most minor defects before packing.
Quality control at ZESTLET
At ZESTLET in Sialkot, our quality process covers fabric checks, in-line checks and a final AQL inspection before packing. If a lot does not meet the agreed level, it is sorted, reworked and re-inspected before it ships. Read more about our quality control and inspection process, or request a quote for your next order.
Frequently asked questions
What is apparel inspection and sorting?
Inspection checks a random sample of a garment order against agreed quality limits. Sorting checks every piece and separates good garments from those needing rework or rejection, usually after an inspection has failed.
What AQL is standard for clothing?
Most brands use General Inspection Level II with AQL 0 for critical defects, 2.5 for major defects and 4.0 for minor defects.
Who pays for sorting and re-inspection?
Normally the factory, when the original inspection failed because of production defects. Agree this in writing before production starts.
What are the most common garment defects?
Loose or untrimmed threads, open or broken seams, stains and marks, measurements outside tolerance, print or embroidery faults and label errors.
What is garment defect tracking?
Recording every defect found with its type, location, cause and fix, so a brand and its factory can see which problems repeat and reduce them over time.
How long does 100% sorting take?
It depends on the quantity and the defect. A few hundred garments can be sorted in a day; several thousand can take several days, which is why catching defects early is cheaper.